SW+ Project Build
Build instructions by Paul M0BMN
These pages show details of the 2006 Club project.
This page shows the progress of my SW+80 kit as I built it.
The first pictures show how the kit arrives and the size and quality of the PCB

This is how the kit arrives, all the parts are in a sealed bags
the instructions came separate in a A4 envelope so they are not screwed up in the small box that the kit arrives in

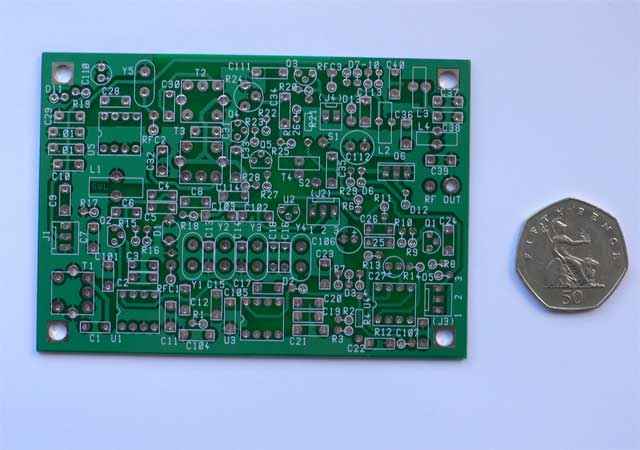
This is the PCB, you don't get the 50p with it! that's just for size Hi You can see its of highest quality , nicely silk screen which makes building a kit much better.

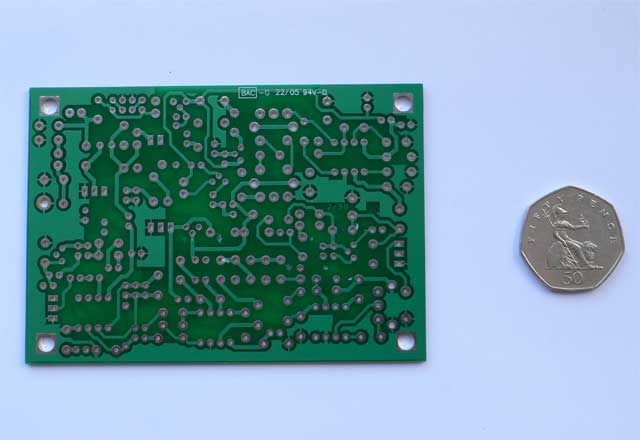
This is the solder side of the PCB, it is a true commercial quality board with through plated holes.
Stage 1 Identifying the parts
Stage 2 Melting solder for the first time
Stage 3 The Audio Amplifier
Stage 4 The Product Detector/BFO & Crystal Filter
Stage 5 The Front End
Stage 6 The Transmit Mixer and Driver
Stage 7 The PA Circuit
Stage 8 The alignment and finish
Back to Projects page
